If you're a renter or even a homeowner with more blacktop than soil, gardening can still be in reach. With a little common sense growing tomatoes in containers is simple and super rewarding. As a city kid, farms were places where people went to get poop on their shoes and discover strange allergies. Not to get too hippie-granola, but being insulated from the production of the food supply robbed me of the joy of growing food. Growing tomatoes in containers is a great introduction to gardening. And, remember, we're growing tomatoes. This isn't rocket science or even learning how to set up your voicemail.
Containers
See my earlier post on
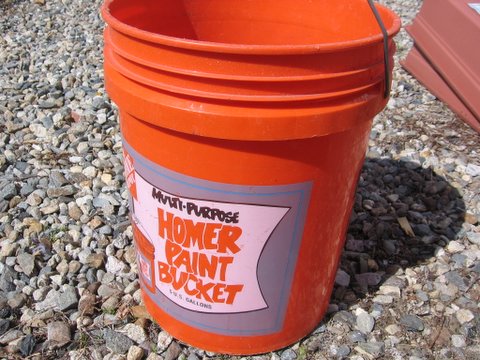
what type of container to get. For cherry tomatoes, five-gallon buckets are a good starting point. You can certainly go bigger, but don't go smaller. Your plants will suck and cause you to lose face at the next rotary meeting.
SoilDon't cheap out with soil and don't dig up some dirt from your backyard. It, too, will suck. Growing plants in a limited amount of soil means you'll have to make that soil kick ass. Spring for a big bag of potting soil. It's made to drain efficiently and will do just fine in a container. Be careful not to get garden soil. It's made for God's green earth, not Home Depot's orange buckets. I've had great success with
Miracle-Gro's potting soil. It's not the cheapest stuff, but it's got fertilizer built in, which should last for a month or so.
Plant Type
Go with something small, especially if this is your first time out. Stay away from varieties that connote monumental proportions. They've got names like Big Boy, Beefsteak, Mortgage Lifter, et cetera. (I'm sure it can be done, but it could be quite a lot of work for a small harvest.) Choose something in the cherry variety. Sungold and Supersweet 100 are solid choices. Sungold, especially, is very popular and is the, ahem, gold standard for those who run in the cherry tomato crowd.
Seed or Transplant?Transplant. You'll save a lot of time with a transplant, but you'll be stuck with what your plantmonger is offering. Transplants obviously cost more than seed, but, all in all, they are cheaper than a trip to Starbucks or Dunkin' Donuts, depending on how you sway. Stay away from large plants. Get in early and snatch up some plants in those blister packs. They are cheaper.
Determinate or Indeterminate?
Either or is probably fine. Determinate plants grow to a preset size whereas indeterminate plants keep going until the liquor runs out or the cops break up the party. I have had good success with both. Don't sweat this too much, but realize that indeterminate plants require a bit more work in the form of pruning and general maintenance but they'll keep putting out fruit until the frost.
Gardening Tools & AccessoriesGet a few basic things but don't go overboard. Get a hand trowel and possibly a cultivator (that's the thing that looks like a claw). Those are probably all the tools you need to get. A watering can might be nice, but a hose or old milk jugs work just as well.
You'll also want fertilizer. Working with so little soil, the tomatoes will suck nutrients out quickly. Miracle Gro, which gardening snobs (yeah, they do exist, just wander over to
gardenweb and read some posts) love to hate, gave me good results last year. It's pretty cheap but not exactly organic. If you can swing it, explore some more natural ways to fertilize.
Stakes will be essential and you should get some. Your tomatoes can't really sprawl about so you'll have to stake them up using string. The bamboo ones will probably last a season. Metal ones will last until rusted through. Plastic ones will be here until kingdom come but might fail under the pressure well before that. It's a classic tradeoff between price and performance. Bamboo is the cheapest and is a good starting point.
TimingGenerally, you'll want to plant when there's any threat of frost has dissipated. However, you've got portability on your side. If you plant a bit too early and the forecast calls for frost, simply bring your containers inside into a garage, basement, or living room. Return them to the outside the next morning. This will allow you to get a jump on traditional gardeners. Of course, the more containers you have the more impractical this becomes. If you're not sure ask the sullen teen behind the counter at the garden center for some advice.
AdvantagesContainers give gardeners superb control over soil conditions and pests. Encased in plastic, soil-borne insects won't be much of an issue. Other insects, like
hornworms, will have to be dealt with.
DisadvantagesContainers dry out quickly, especially once the heat of summer sets in. Watering will be a at least a daily chore, if not twice daily. Plants also don't get lots of room to spread out and grow until their genetics start throwing on the brakes. Lastly, large tomato plants in containers tend to
act like sails and must be weighted down.